
How to Prepare for Countertop Installation: A Complete Checklist
Once you’ve picked your material and locked in a date, it’s natural to wonder what actually happens next: what you need to have ready, what the crew will need from you, and what the day itself looks like. A little preparation goes a long way toward making installation day smooth instead of stressful. Here’s exactly what to know, from the week before to the moment the crew packs up.
Before Installation Day
Have your sink and faucet on-site. This is one of the most common holdups in countertop projects. If you’re getting an undermount sink, the cutout is measured and cut based on your specific sink’s dimensions, so the sink (and often the faucet) needs to be on-site, ideally before templating, so the fabricator can confirm exact measurements. A sink that’s still in transit on installation day can genuinely stall the whole project.
Confirm what’s included in your quote. Before the crew arrives, you should already know: is old countertop removal included, or separate? Is sealing included (for natural stone)? Who handles final plumbing hookup? Getting this settled ahead of time avoids surprise costs or confusion about who’s doing what.
Clear the workspace. Remove everything from your countertops, and empty out the cabinets directly underneath if the installers will need access (for example, to disconnect a sink or adjust support). Small appliances, dishes, and décor should be packed away somewhere out of the work area.
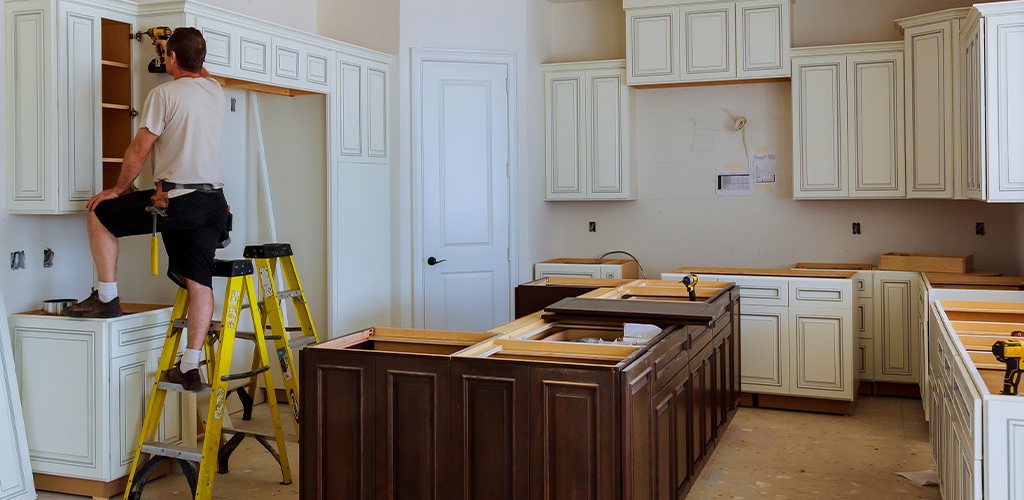
Make sure cabinets are fully installed and level. Countertops can only be templated and installed once base cabinets are permanently set. If you’re mid-renovation, confirm with your contractor that cabinet installation is genuinely complete, not just “close enough,” before your countertop appointment is scheduled.
Clear a path for the crew. Slabs are heavy and often awkward to maneuver. Clear hallways, doorways, and any tight turns between the entrance and the kitchen so the crew can move material safely without navigating around furniture or clutter.
Plan around plumbing. If your existing countertop is being removed, the sink and faucet typically need to be disconnected first. Sometimes this is handled by the countertop crew, sometimes by a separate plumber, depending on your contractor. Confirm who’s handling this in advance so it doesn’t become a same-day scramble.
Keep kids and pets out of the work zone. Installation involves power tools, heavy lifting, and sometimes cutting on-site for final adjustments, not a safe or convenient environment for curious kids or pets to be underfoot.
What Happens on Installation Day
The crew dry-fits the slab first. Before anything is permanently secured, the countertop is set in place to confirm it fits correctly against your cabinets, walls, and any appliances. Small on-site adjustments are normal, even with a precise template: real-world conditions sometimes call for minor fine-tuning.
Seams are aligned and finished. If your kitchen requires more than one slab piece (common for larger layouts or islands), the crew aligns the seams as closely as possible and finishes them with a color-matched epoxy to minimize visibility. No seam is perfectly invisible, but a skilled fabricator keeps it to a thin, consistent line.
The countertop is secured. Once the fit is confirmed, the slab is set with adhesive, and sink or cooktop cutouts are refined as needed. If you’re using an undermount sink, it’s typically mounted with clips or brackets underneath the countertop at this stage.
Expect some noise and dust. Cutting, grinding, and fine-tuning on-site can be loud, and stone work generates dust. Most fabricators take steps to contain and clean up dust, but it’s worth keeping this in mind if you’re working from home or have people sensitive to noise that day.
Caulking and sealing happen last. Paintable caulk is often applied around backsplash edges, and silicone seals any areas exposed to water (like around the sink). For natural stone, sealing may also happen at this point if it wasn’t done in the shop.
After Installation
Ask for care instructions before the crew leaves. This is the best time to ask material-specific questions: how soon you can use the counter, whether it needs sealing on a schedule, and what to avoid (certain cleaners, direct heat, etc.).
Plumbing and appliance hookup often comes next. If your sink and faucet were disconnected for the install, reconnecting them is usually the next step, sometimes done immediately by the same crew, sometimes scheduled separately with a plumber.
Backsplash typically comes after. If you’re installing a tile or slab backsplash, it’s usually done after the countertop is set, since it needs to fit flush against the finished edge.
Give it a final look before the crew leaves. Check the seams, edges, and overall fit while the installers are still there. It’s much easier to flag anything that needs adjustment on the spot than to schedule a follow-up visit later.
Countertop Installation Checklist
Homeowners consistently ask a similar set of questions during this process, worth having answers to before your installation date:
- What’s included in the price? Tear-out, sealing, and edge work aren’t always automatically included. Confirm this upfront.
- How long will it take? Most standard kitchen installations are completed in a single day, though larger or more complex layouts can take longer.
- Will there be a visible seam? For larger kitchens or islands, some seaming is often unavoidable. Ask your fabricator where seams will be placed and how they’re finished.
- Do I get my remnants? If you purchased a full slab, the leftover pieces are often yours to keep, useful for future small projects like a vanity top or cutting board.
Ready to Schedule Your Installation?
A well-prepared installation day is a smooth one. At American Granite Tops, we walk you through exactly what to expect and what to have ready, from your first estimate through final installation, for homeowners throughout Oakland, Macomb, Wayne, St. Clair, Livingston, and Genesee counties.
Frequently Asked Questions
Do I need my sink before the countertop can be templated?
In most cases, yes, especially for undermount sinks, where the cutout is measured to your specific sink's dimensions. Having it on-site before templating avoids delays later.
How long does countertop installation take?
Most standard kitchens are completed in a single day. Larger kitchens, islands with waterfall edges, or complex layouts with multiple seams can take longer.
Will I have a visible seam in my countertop?
It depends on your kitchen's size and layout. Larger runs or islands often require more than one slab piece, joined with a color-matched seam. A skilled fabricator keeps seams thin and as unobtrusive as possible, though they're rarely completely invisible.
Can I use my countertop right away?
Typically yes, though it's worth asking your installer directly. Some materials or sealants have a brief curing window before heavy use is recommended.
Who handles reconnecting my sink and faucet?
This varies by project. Sometimes the countertop crew handles it, sometimes it's scheduled separately with a plumber. Confirm this before installation day so it doesn't get missed.